Single Sign-On
Database Performance Monitor supports Single Sign-On for authenticating and provisioning users. This allows organizations with large teams to simplify the process of granting or revoking access to DPM. We currently support Okta, OneLogin, and Azure for SSO. Note that this feature is only available to Premium-tier customers.
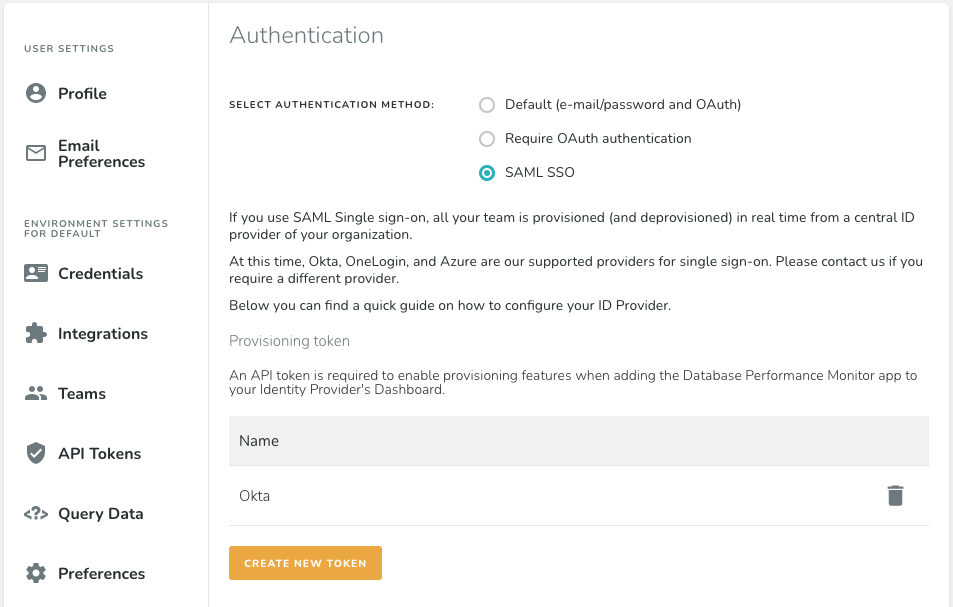
Important: To use Single Sign-On, you must have SAML Single Sign-On selected as your authentication method in DPM.
Select your identity provider to see detailed instructions on setup.
Enabling SSO with an incorrect configuration may cause users to lose access to the account. If this happens, the single designated account Owner can bypass login with SSO and authenticate directly with their name and password by going to accountname.app.vividcortex.com/login?force=basic, substituting accountname for the account domain.
Authentication with OneLogin
Create a new DPM app in OneLogin by clicking here.
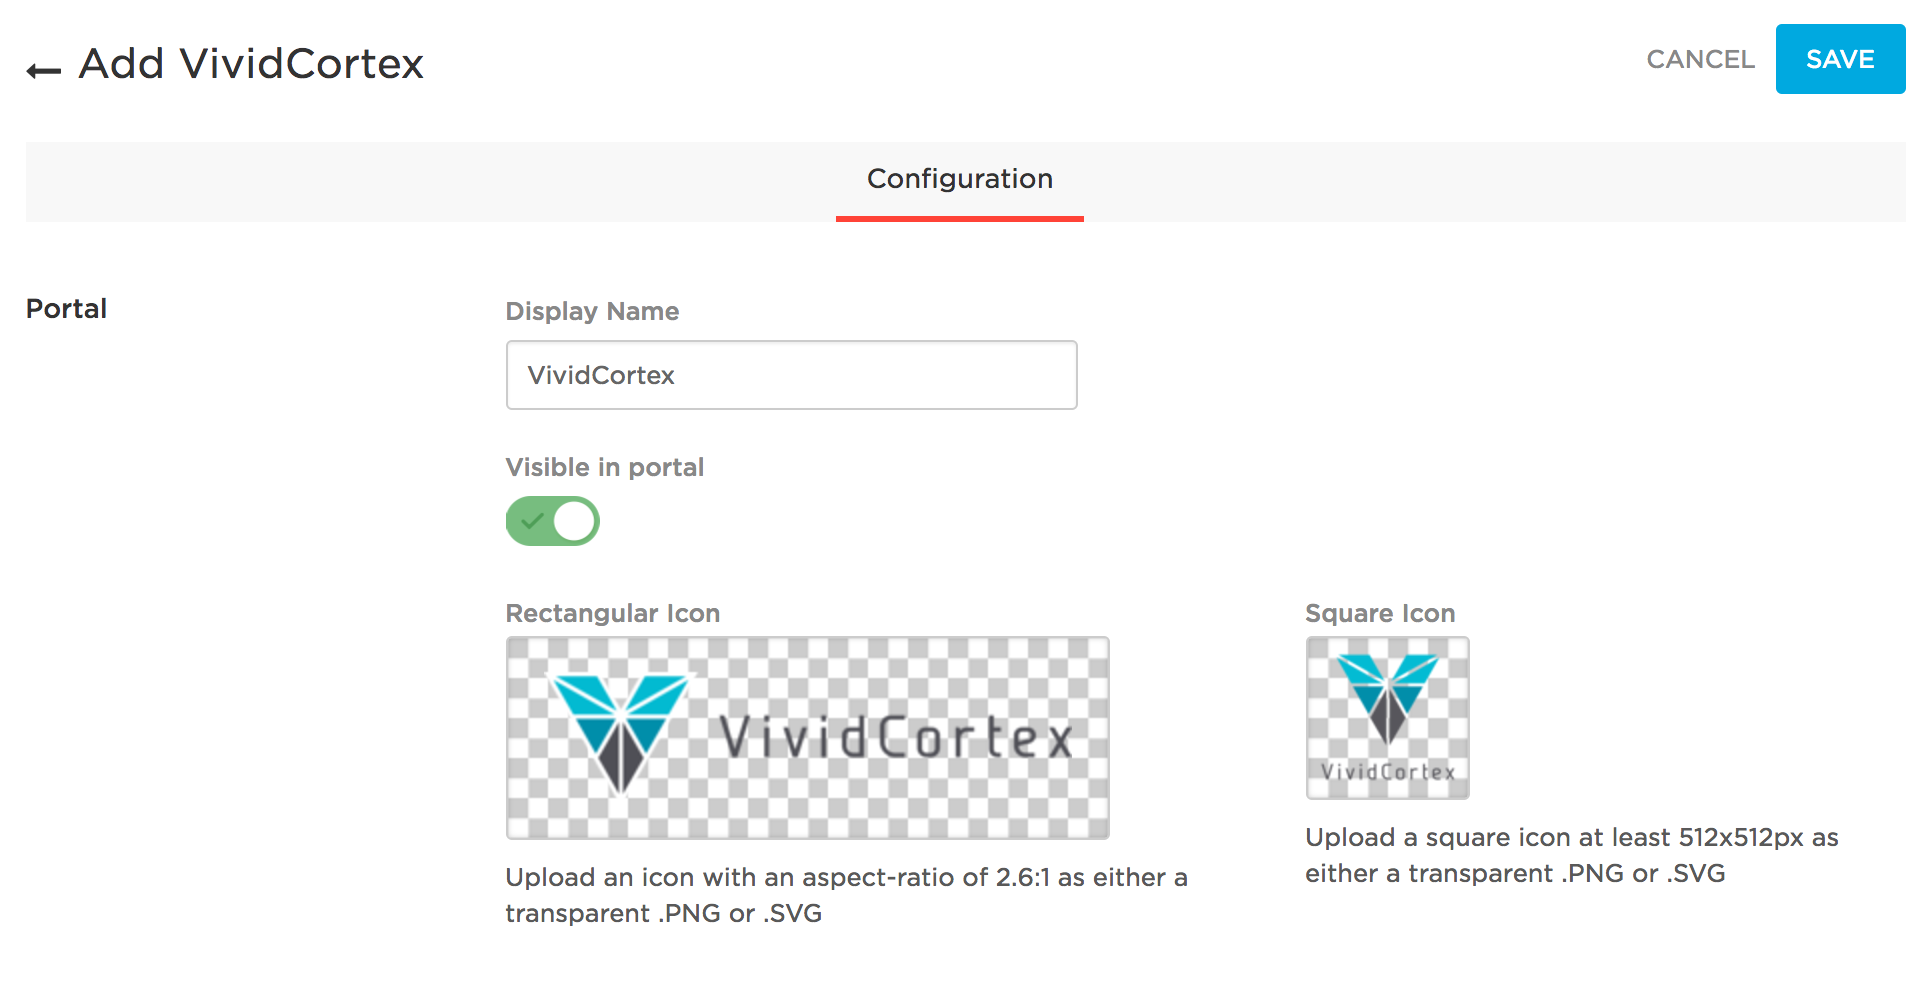
Click “SAVE.”
Then, go to the Configuration tab to setup API access. When you visit the page, it will look something like this:
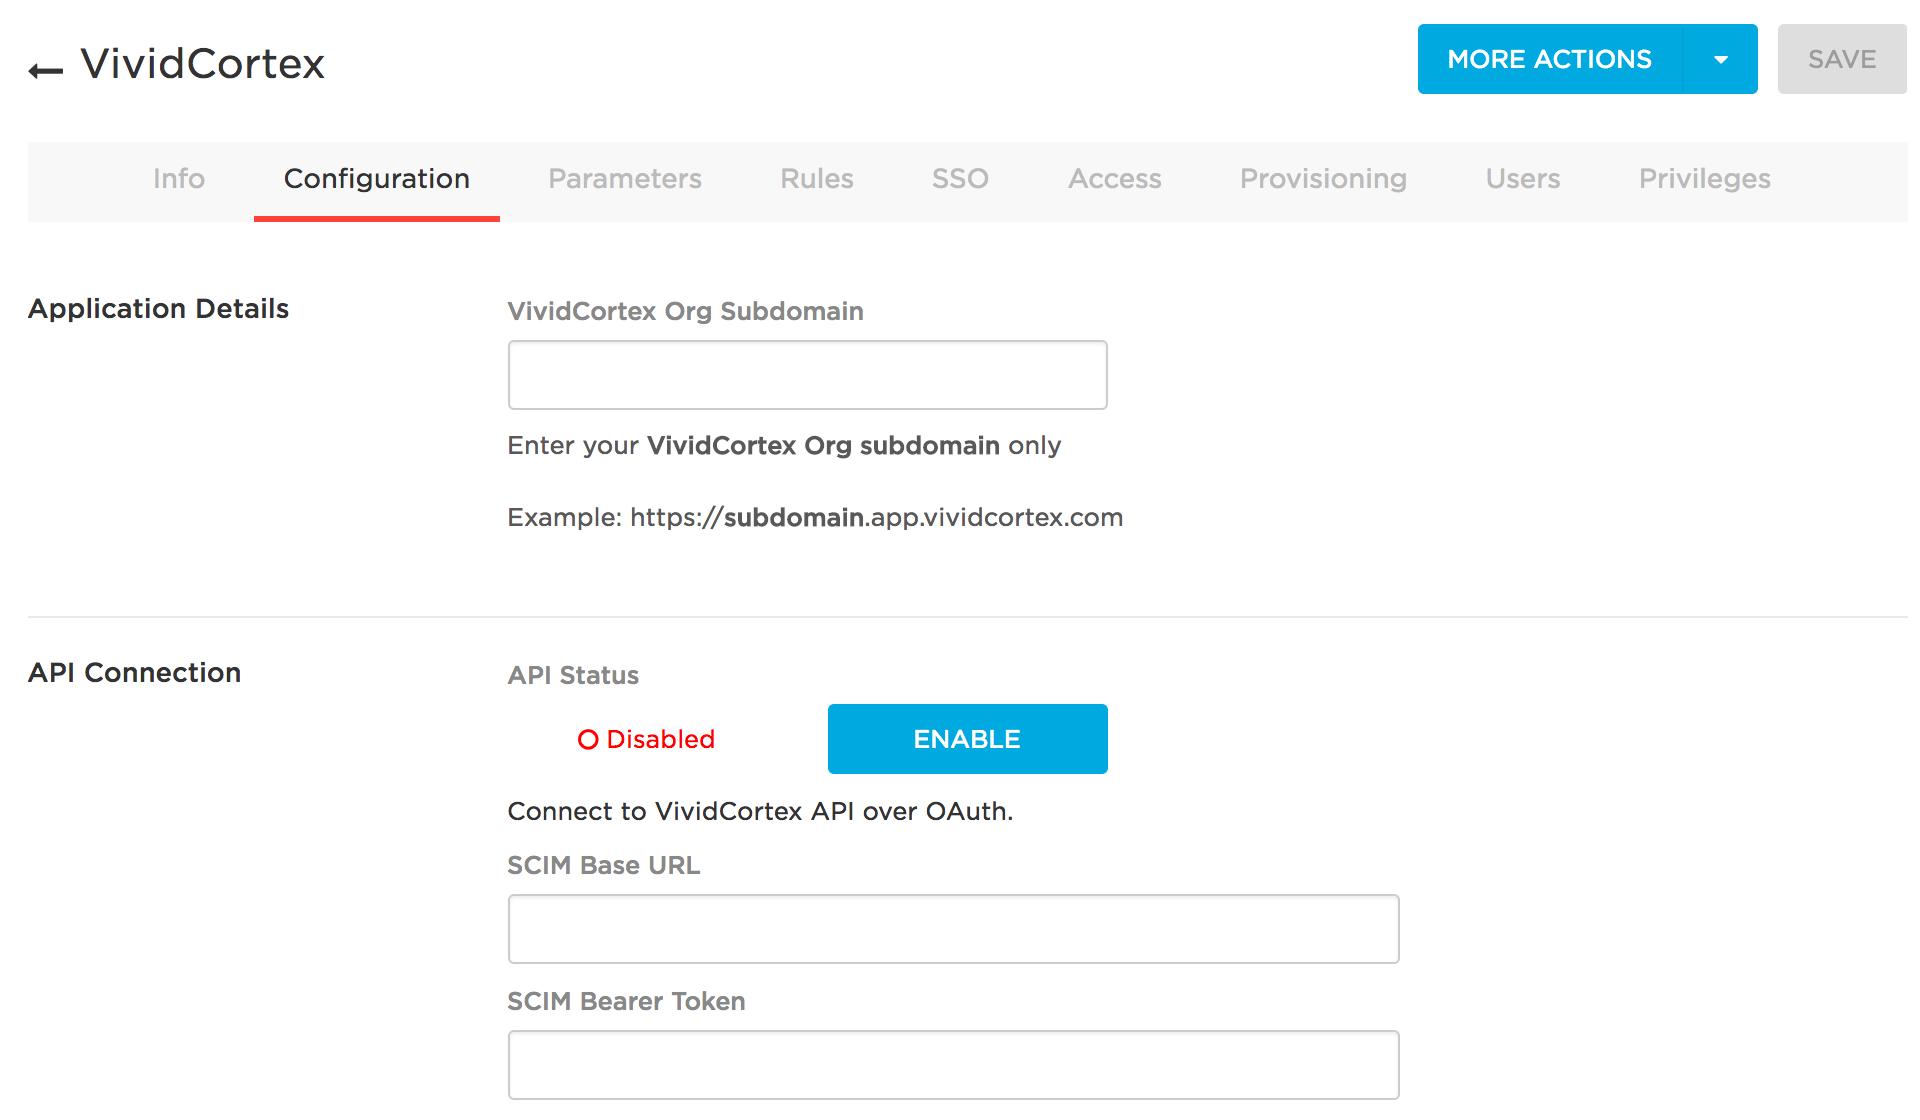
Enter your organization’s subdomain in the field DPM Org Subdomain. The subdomain is your organization nickname; it is the subdomain of the DPM app URL you use when accessing DPM. If you access DPM through “acme.app.vividcortex.com,” you will enter “acme.”
Then, in SCIM Base URL, enter https://{subdomain}.app.vividcortex.com/api/v2/scim/,
where {subdomain} is your organizations nickname (“acme” in this example).
Then, in SCIM Bearer Token, enter the DPM API authentication token found in the DPM application Settings page. Enable the API.
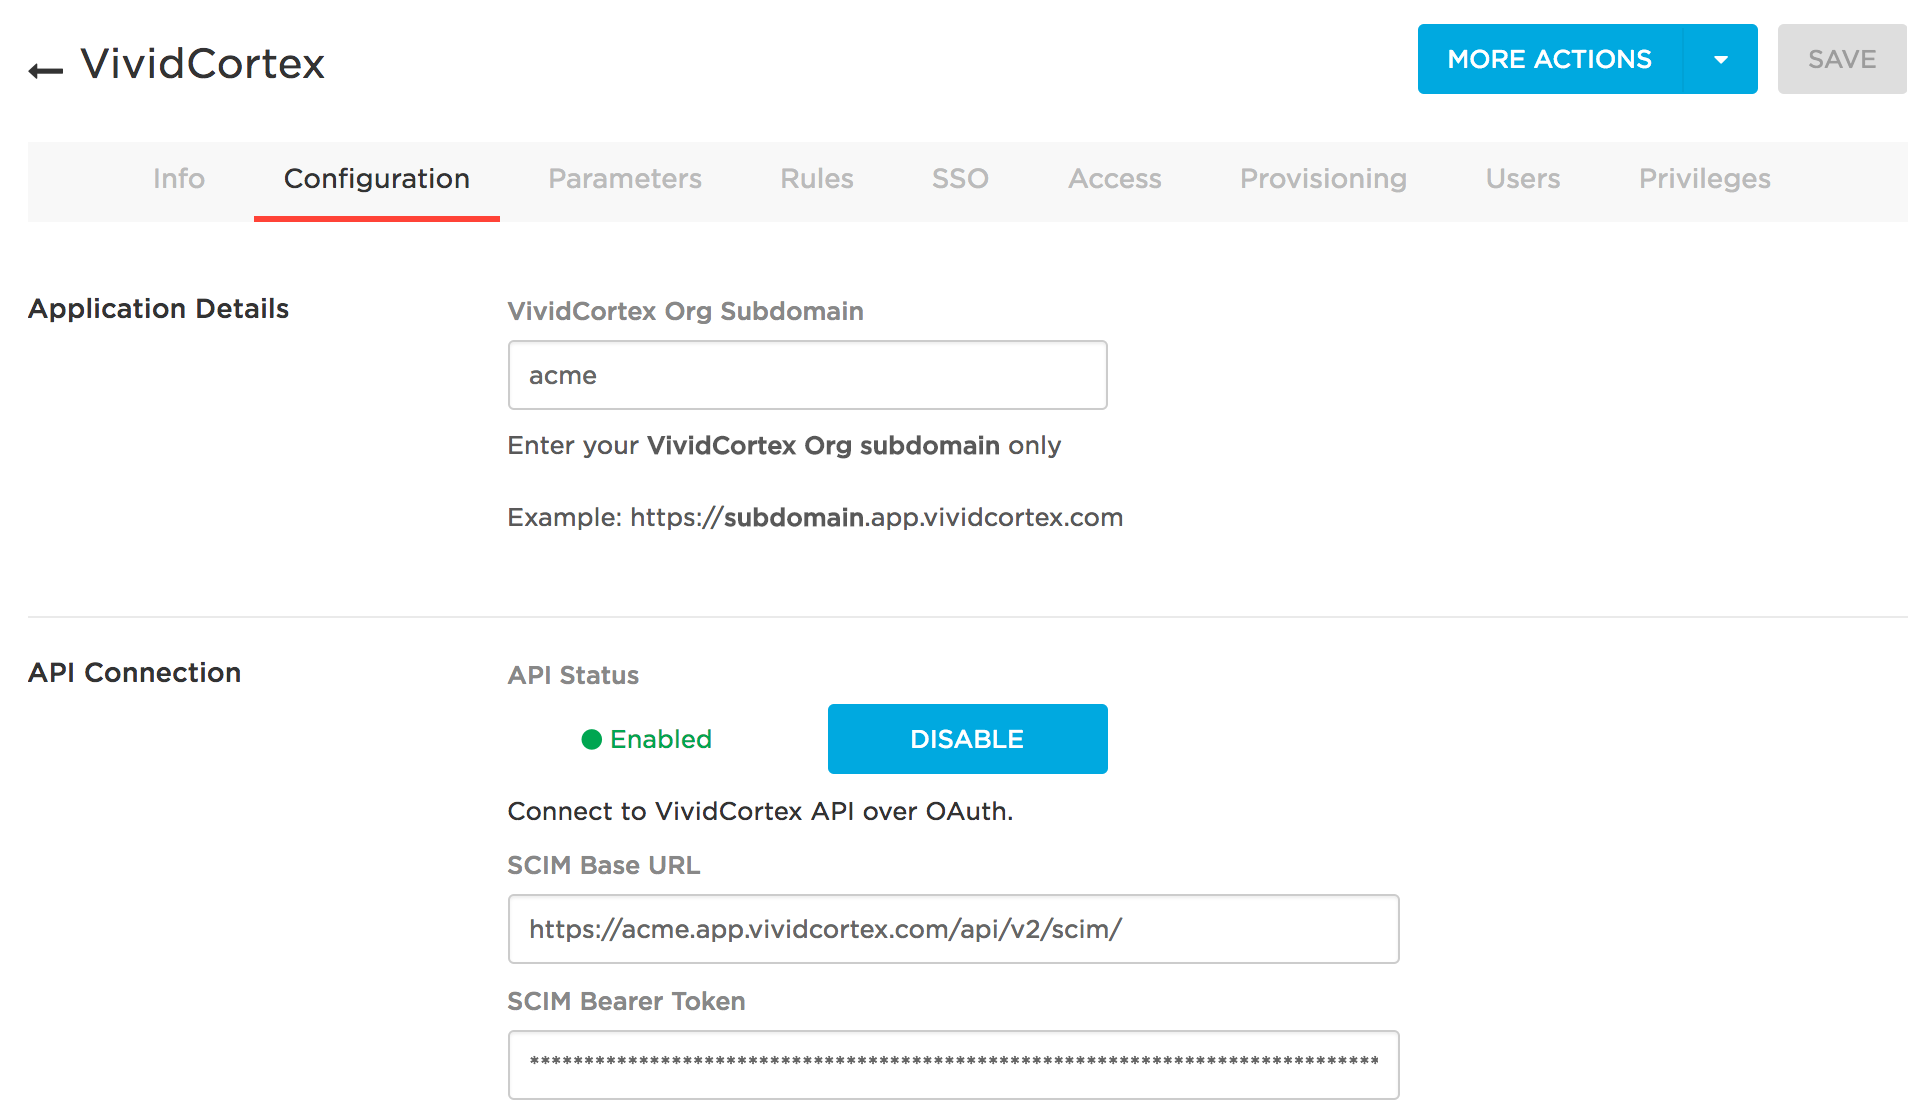
The configuration page, when complete, should look like the following:
In the Provisioning tab, you must select Enable Provisioning for VividCortex. This is mandatory so DPM can be notified about any changes in your team.

Lastly, find the SAML metadata by clicking More Actions:
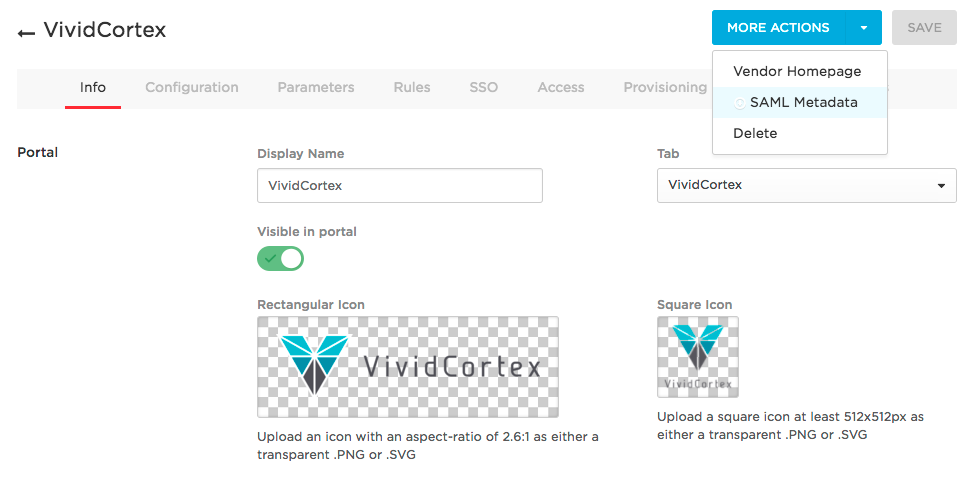
You will need to download the file at the Issuer URL:
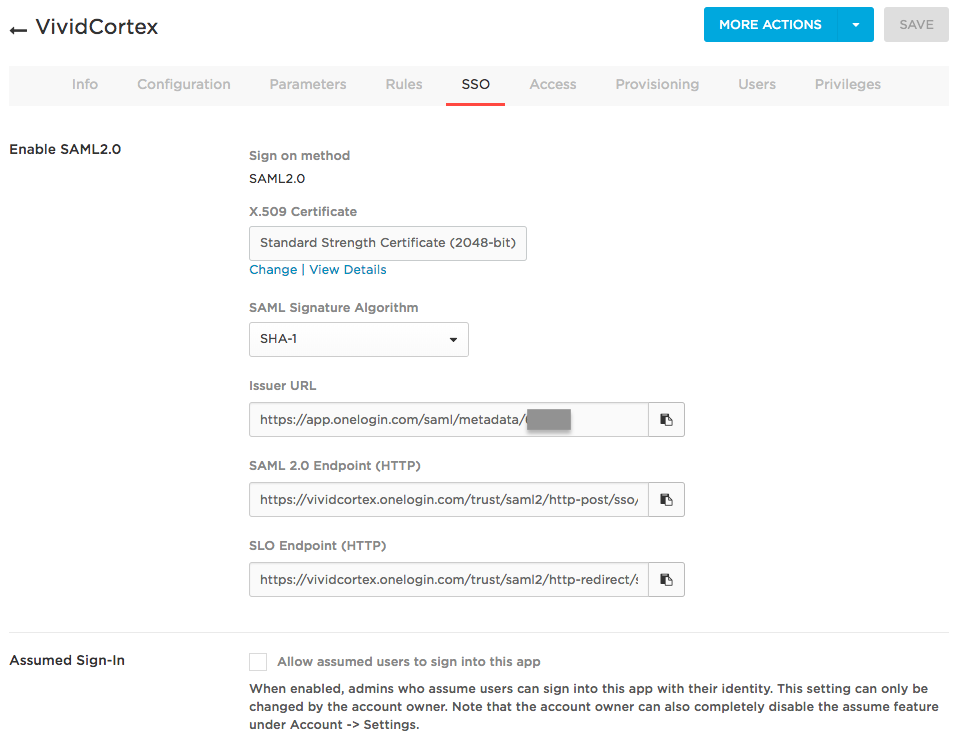
Copy and paste its content (the XML) into the Federation metadata field in the DPM Authentication settings page. Then click Save.
You can now use OneLogin for creating, deleting, and updating users.
Authentication with Okta
Supported features
Single Sign On for DPM using Okta supports the following features for SCIM:
- Creating users
- Updating user attributes
- Deactivating users
- Importing users
- Group pushing
Single Sign on for DPM also supports and requires SAML authentication.
Requirements
To use Single Sign-On, you must have SAML Single Sign-On selected as your authentication method in DPM.
This feature is only available to organizations that have a Premium-tier DPM account.
Configuration steps
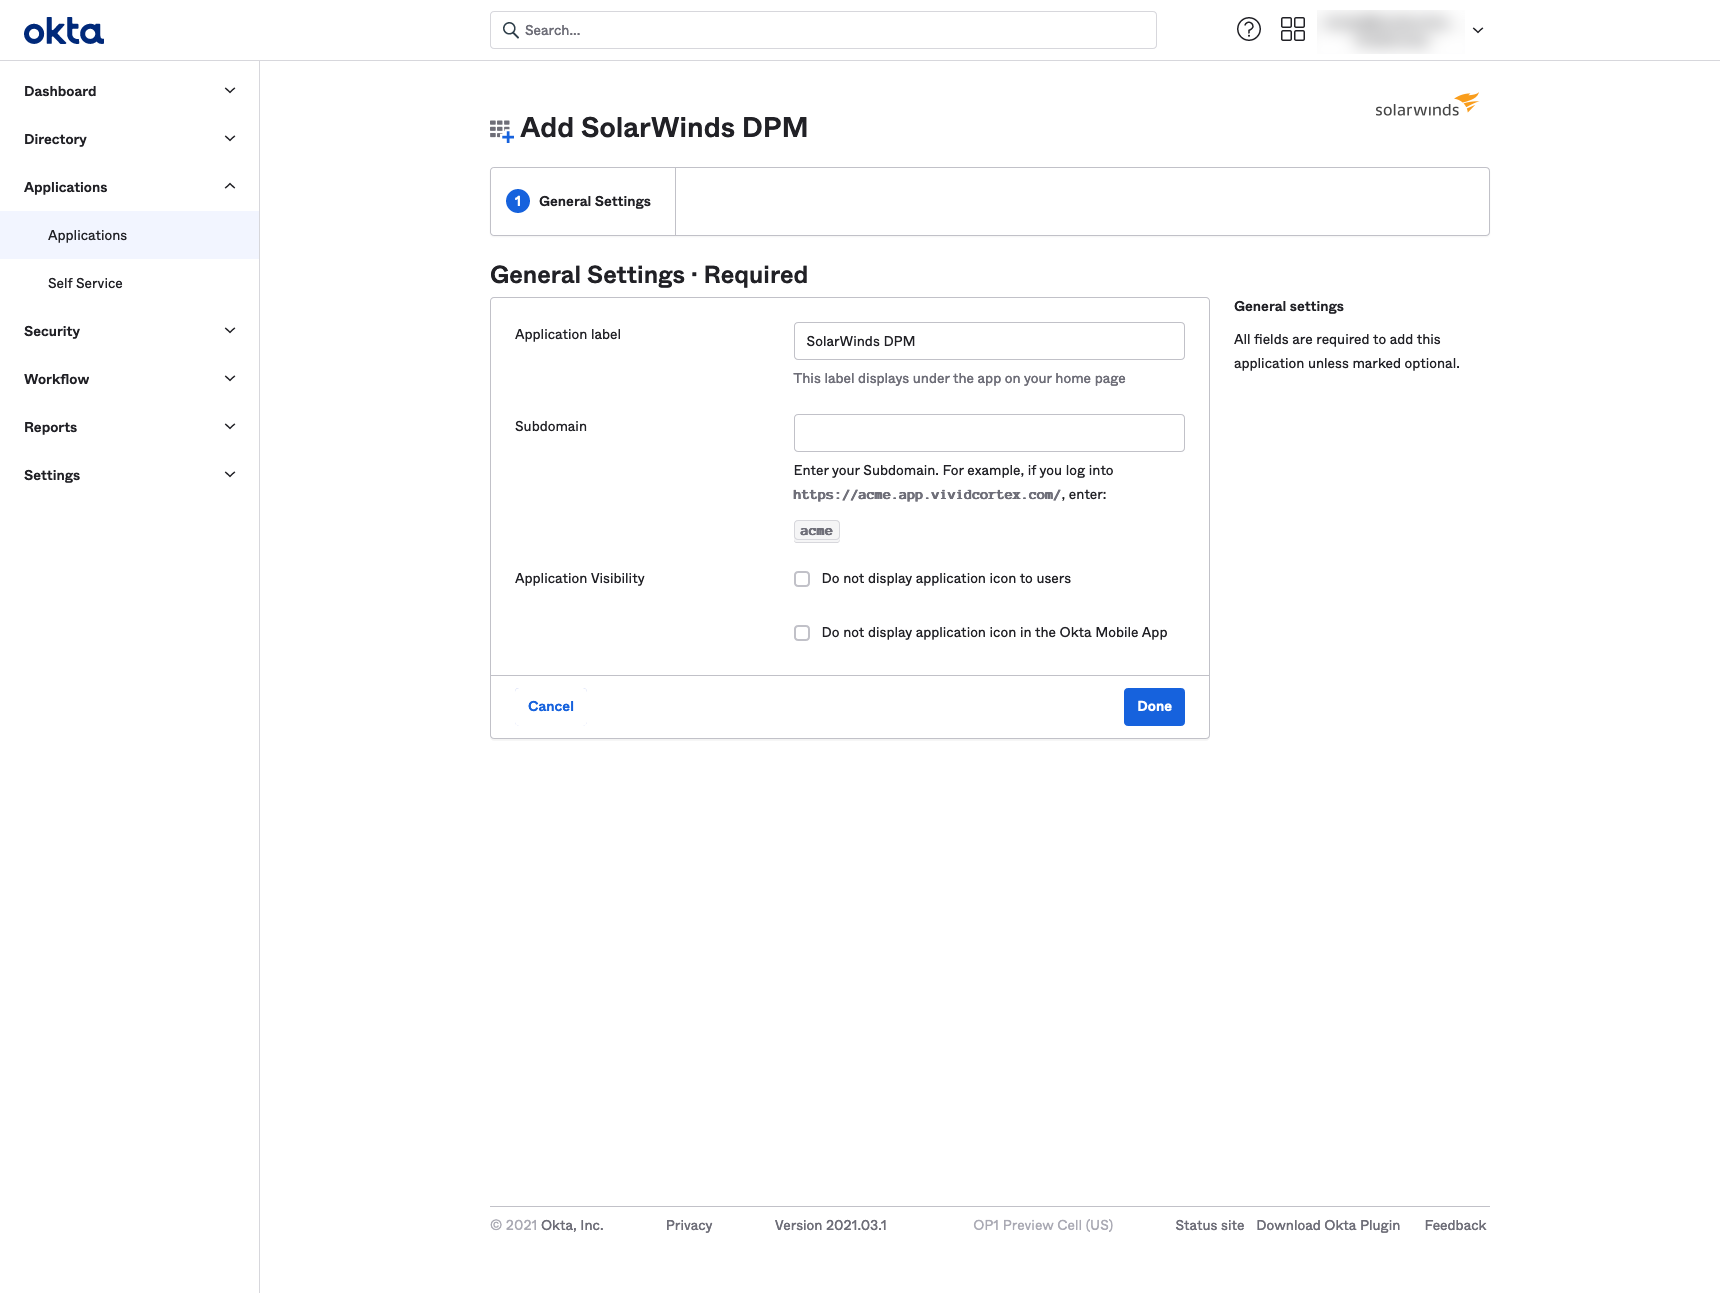
Go to your Okta Dashboard, find the DPM app, and add it. A configuration screen will appear.
In General Settings, under Subdomain, enter your DPM account subdomain. For example, if you access DPM at “https://acme.app.vividcortex.com," your subdomain is acme. Click Done.
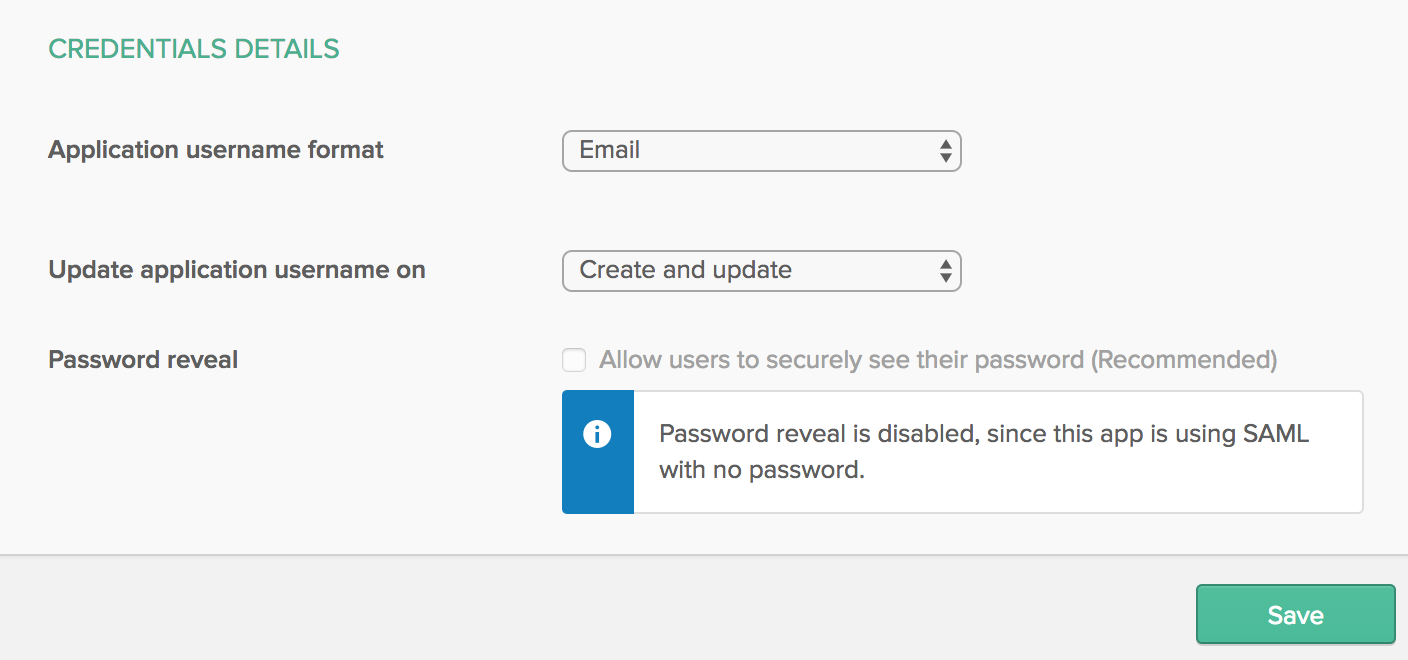
Navigate to ‘Sign On’ settings, and click ‘Edit’ in the top right corner. Under ‘CREDENTIALS DETAILS’, change the Application username format to Email and click Save.
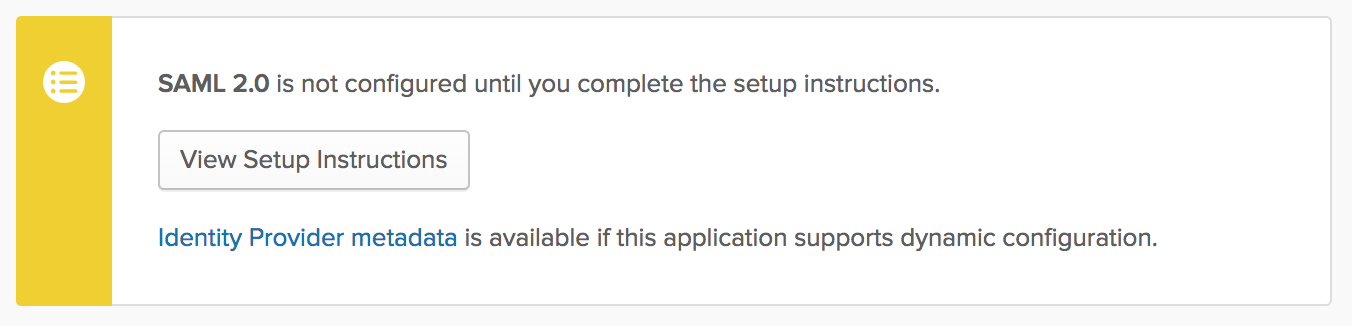
In the SAML 2.0 box, click the link for ‘Identity Provider metadata.’ Copy and paste the XML into the FEDERATION METADATA box in DPM.
Enable provisioning
The next step requires you to enable provisioning features. This is mandatory so DPM can be notified about any changes in your team. Open ‘Provisioning’ settings and click ‘Configure API Integration’ and ‘Enable API Integration’.
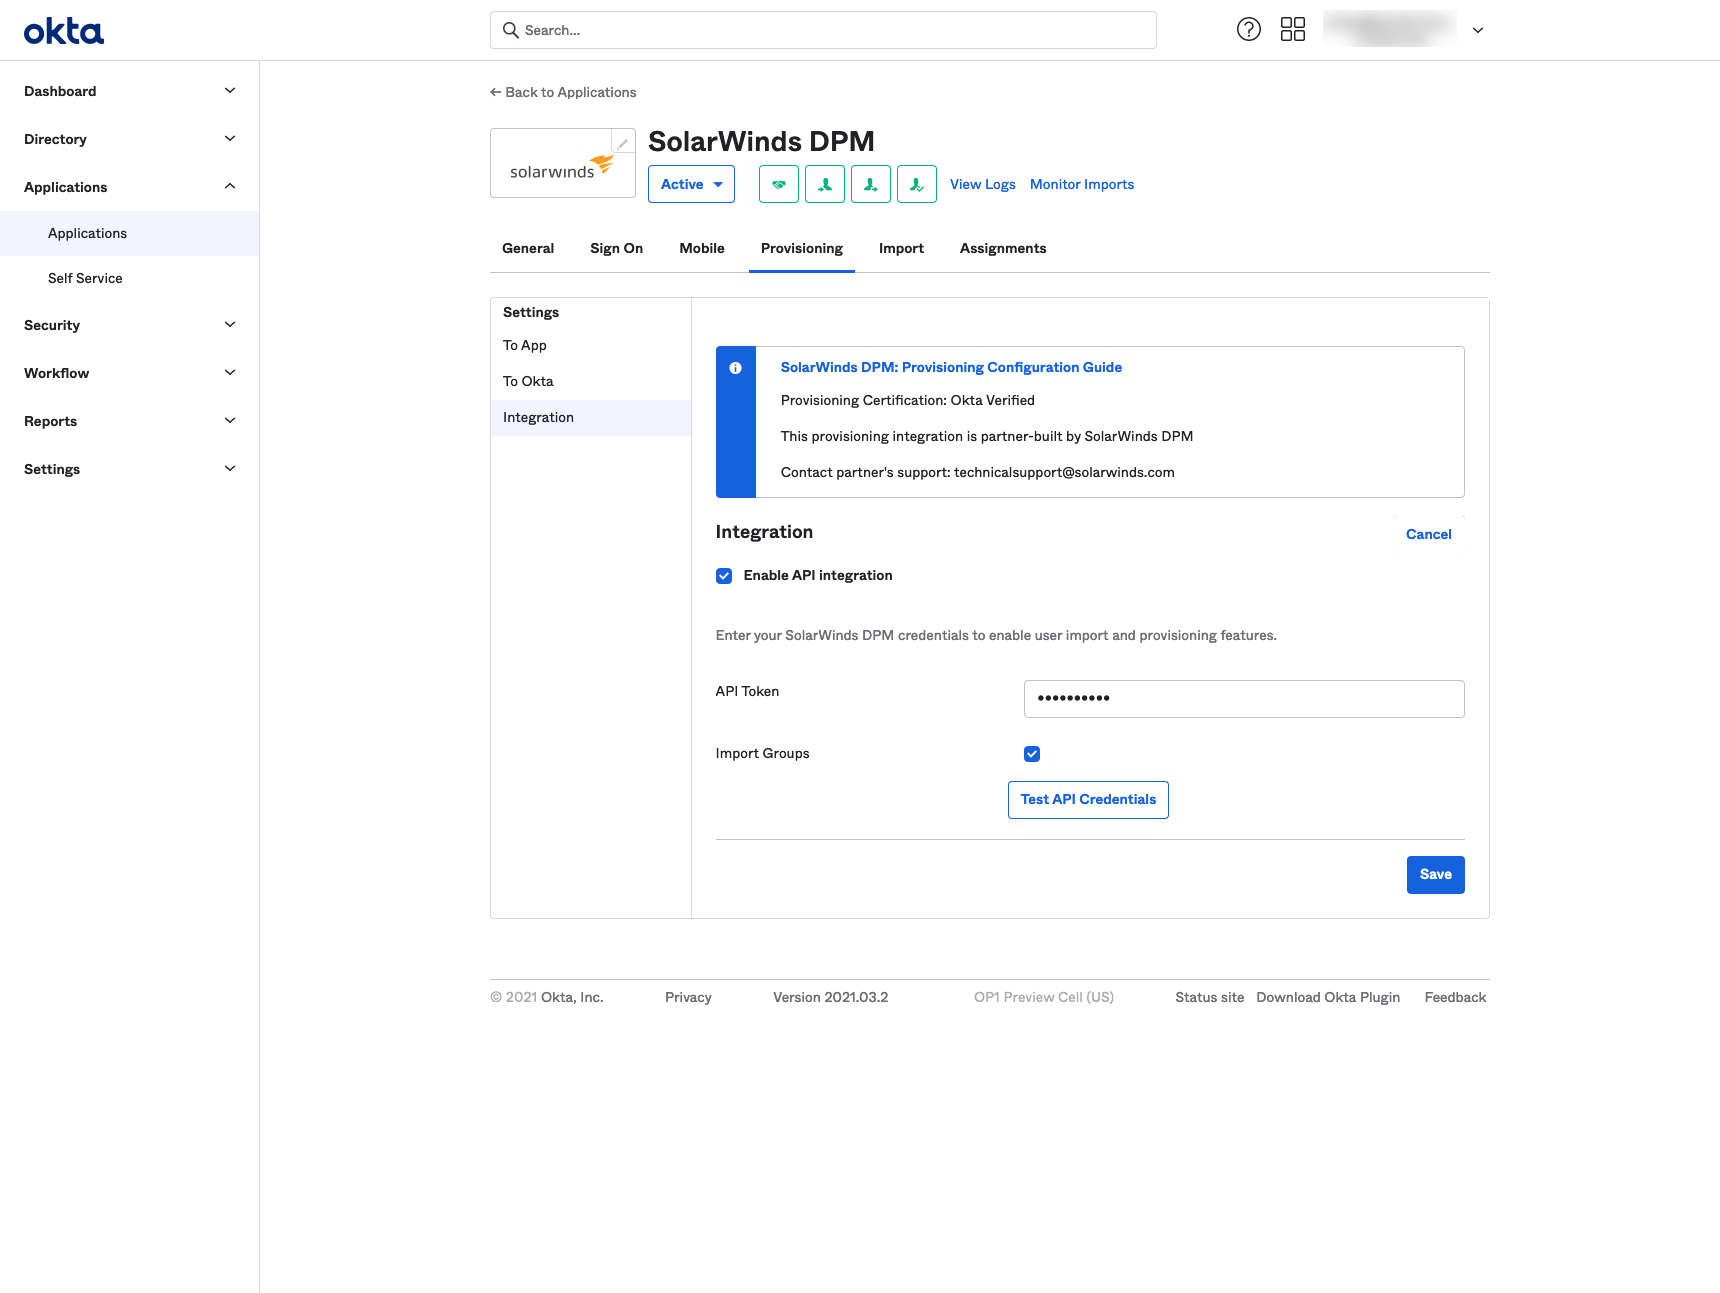
Generate an API token in the Authentication Settings of DPM, and paste that API token into the API Token field in Okta. Click ‘Test API Credentials’ to ensure everything is working. Click Save.
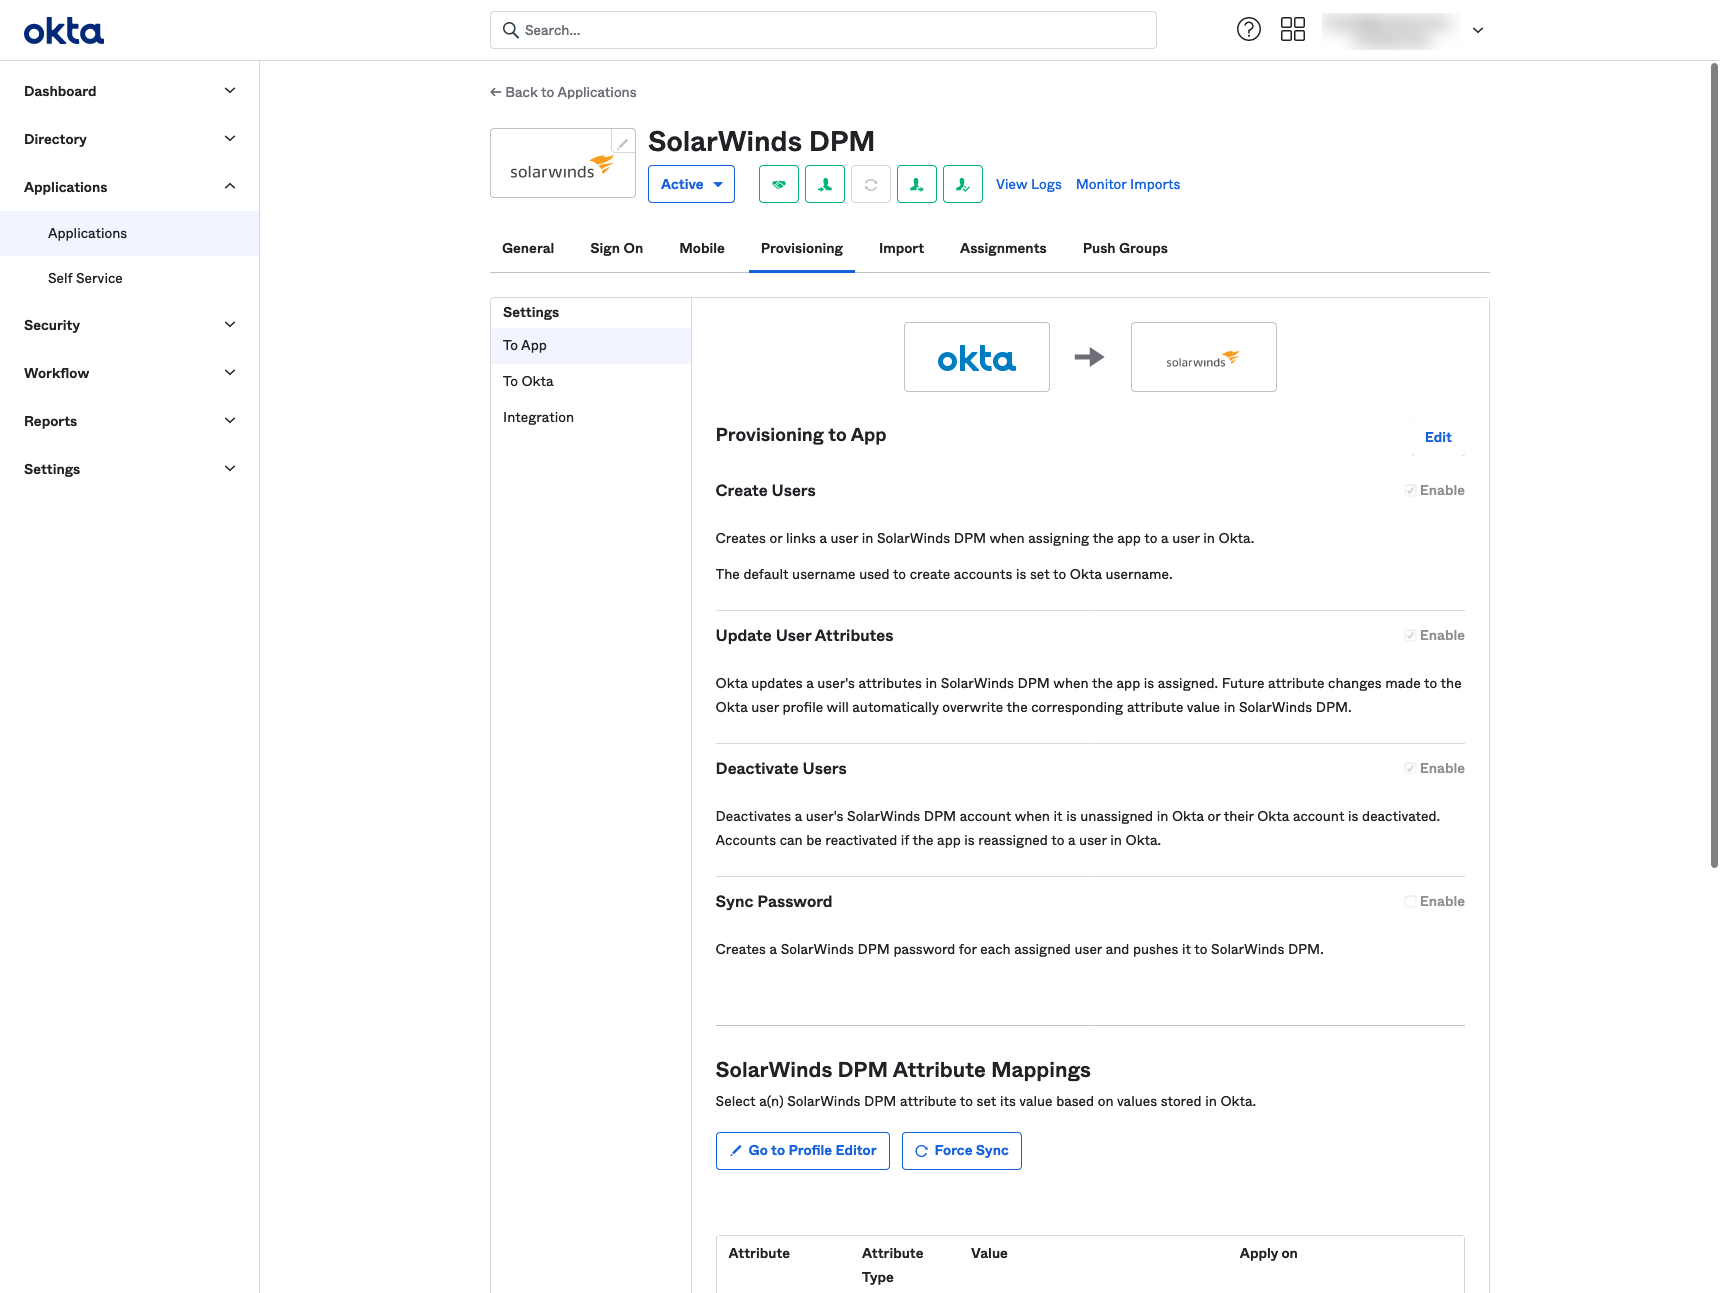
Edit the ‘Provisioning To App’ settings and enable Create Users, Update User Attributes, and Deactive Users. Click Save. Create Users, Update User Attributes and Deactivate Users must be enabled in order to keep the user directory in sync with DPM.
In DPM, once you have pasted the FEDERATION METADATA, click Save.
If you’d like, you can assign existing users to the DPM app by clicking ‘Assignments’ in Okta.
Group provisioning with Okta
With group provisioning, you can push groups from Okta to DPM. After you have created a group in Okta and added users to it, you can push the group to DPM. Any Okta groups pushed to DPM will be set up as a Team in DPM. You don’t need to have already created the team in DPM.
The default assigned role for DPM teams that have been pushed from Okta is read-only. You can modify the team’s roles from DPM. See Role Based Access Control for more information.
To push a group from Okta to DPM:
- Click Applications in the left menu.
- Click the Push Groups tab.
- Select the method to filter groups. (Push groups by name shown below)
- Select Create Group to create and push the group to DPM as a DPM team.
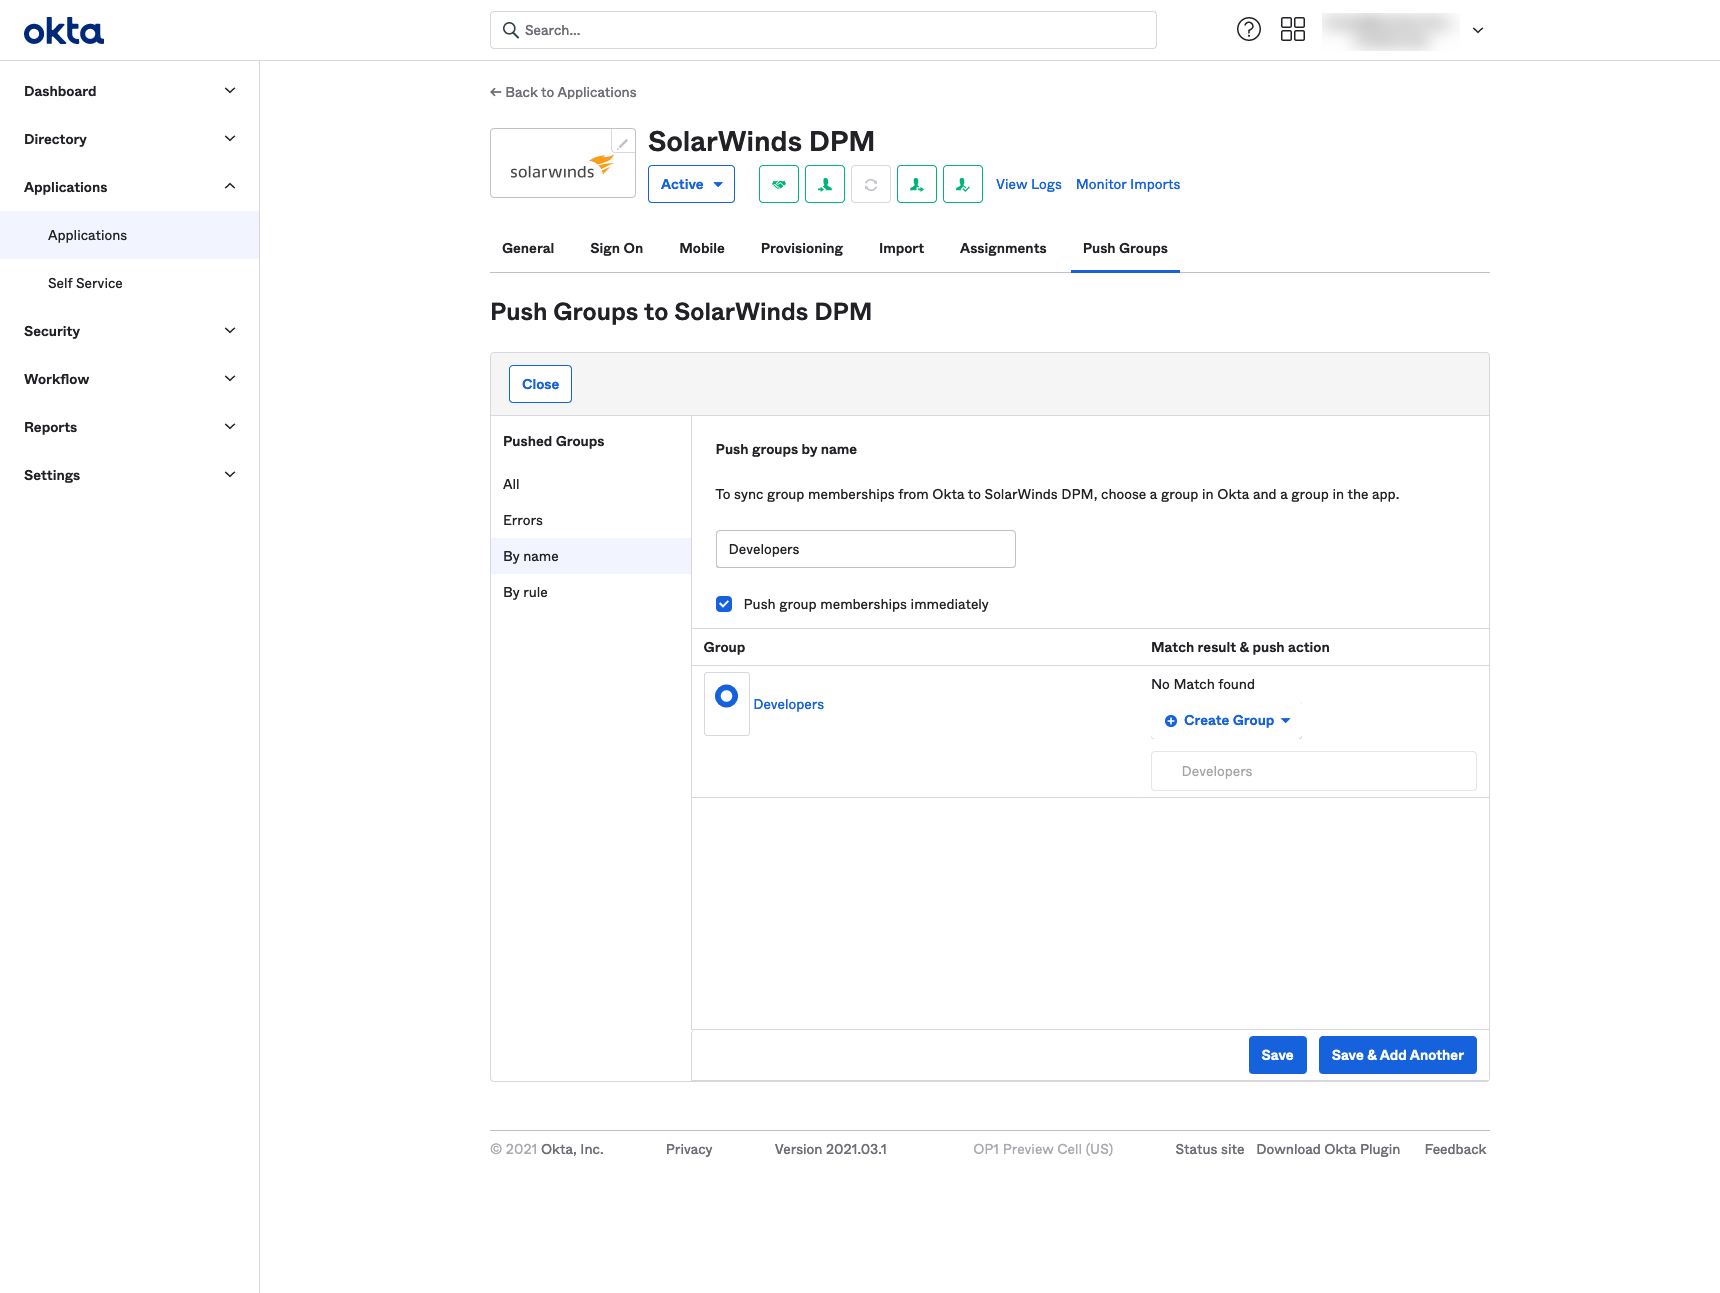
You can use the Push Groups feature to remove a group from DPM by following the same steps but selecting unlink for step 4.
Known issues / Troubleshooting
There are no known issues for Single Sign On provisioning with Okta. Ensure that you meet the requirements to use Single Sign On with Okta and follow the configuration steps closely.
Authentication with Azure
Follow the Microsoft documentation to create a non-gallery application.
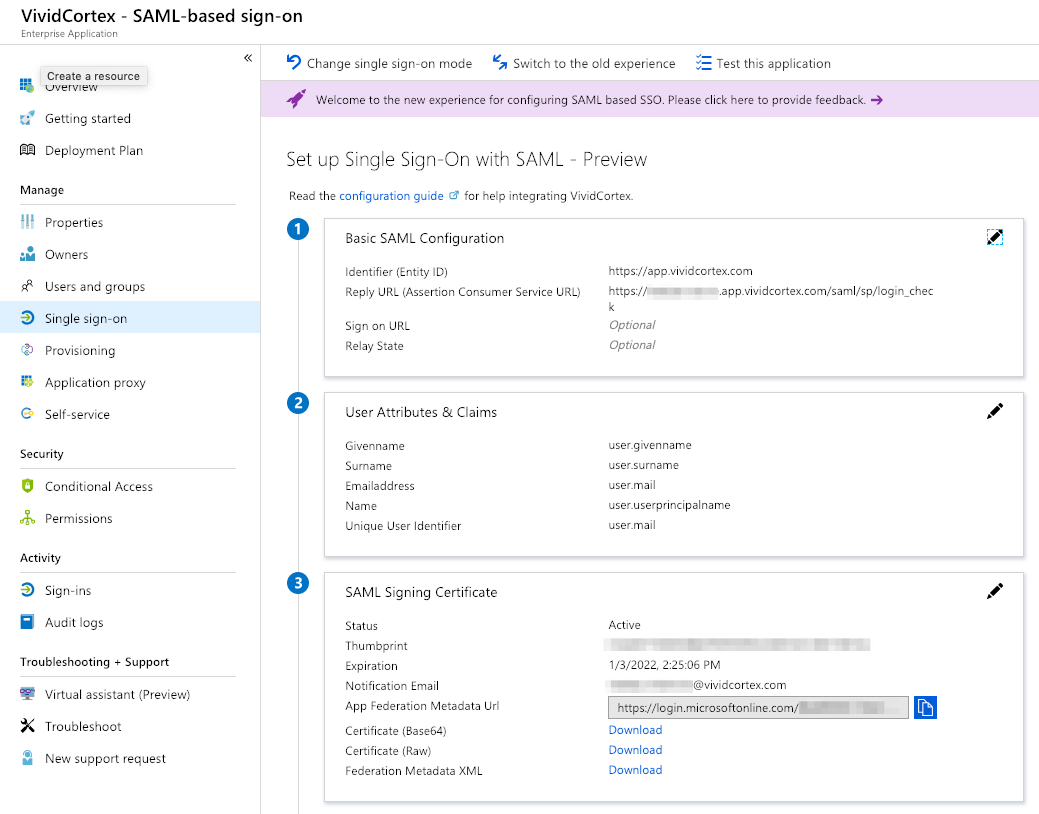
Configure Single sign-on using the following values:
- Set the Identifier (Entity ID) to
https://app.vividcortex.com - Set the Reply URL to
https://{subdomain}.app.vividcortex.com/saml/sp/login_check. For example, if you access DPM at “https://acme.app.vividcortex.com," your subdomain is acme. - Set the Unique User Identifier to
user.mail - Download the Federation Metadata XML and paste that into the FEDERATION METADATA field in DPM.
Configure Provisioning with the following values:
- Change the Provisioning Mode to Automatic.
- Set the SCIM Base URL to
https://{subdomain}.app.vividcortex.com/api/v2/scim/ - Configure the SCIM Bearer Token using a DPM API token generated from the Authentication Settings page.
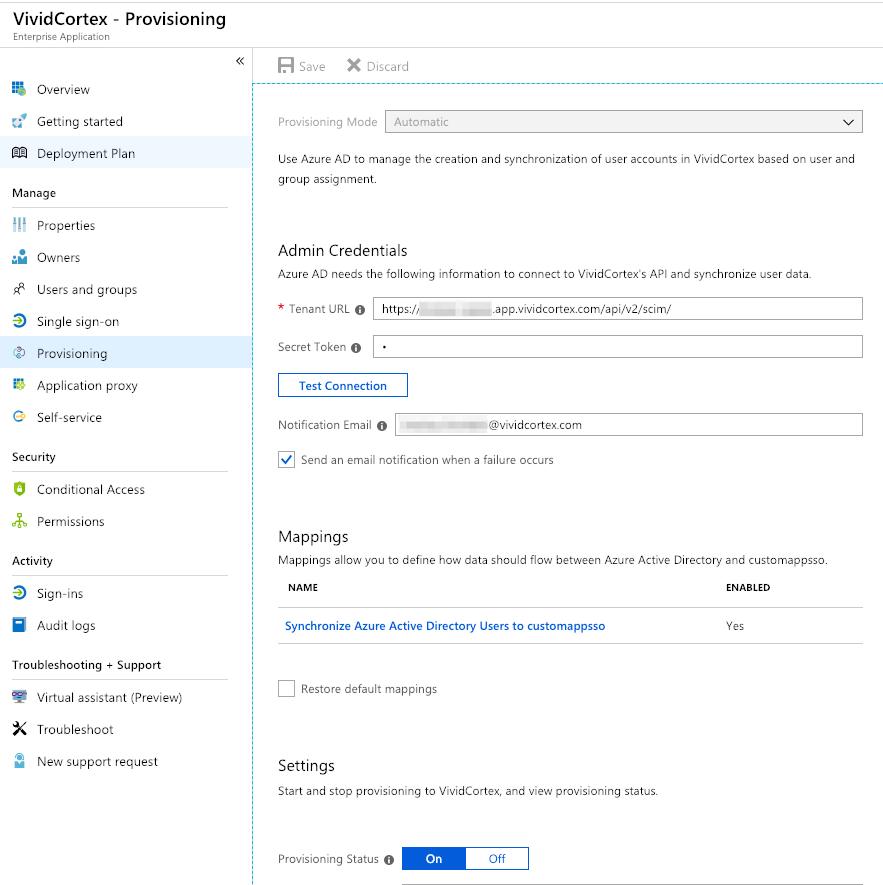
Save the configuration in DPM.